ServicesSurface Preparation and Sanding
Surface Preparation and Sanding in Mount Vernon, NY
Smooth walls start with careful prep. We fill, sand and prime drywall and plaster so the finish coat lies flat. We seal off the room and capture dust at the sander, and we check old paint for lead before any of it gets sanded.
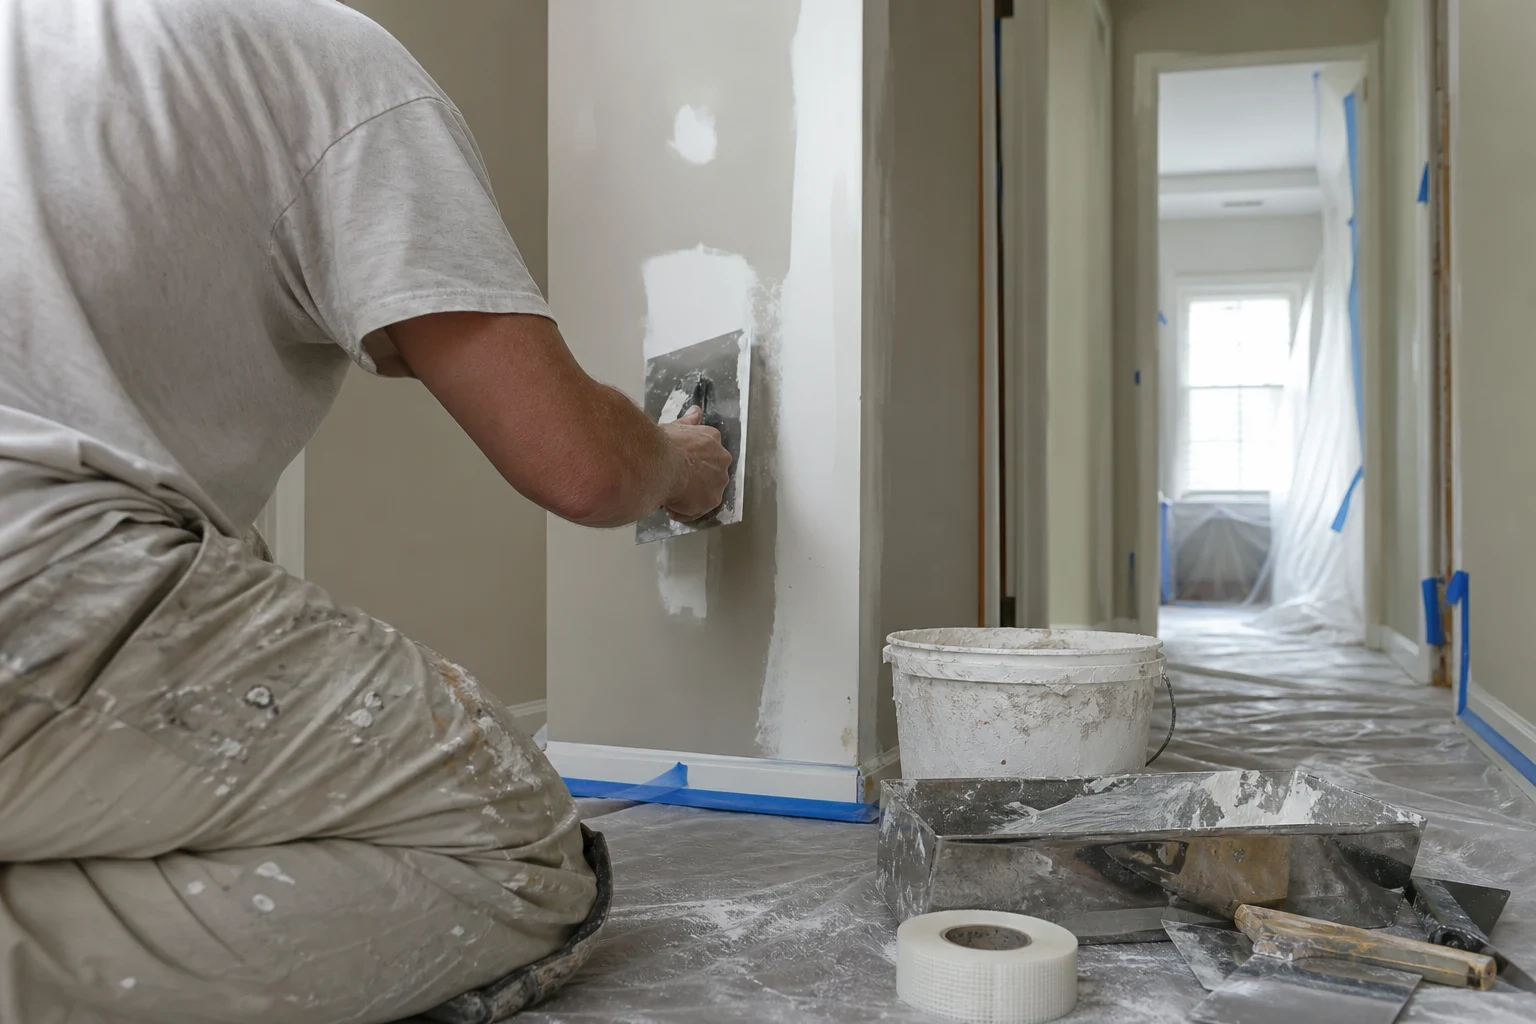
What Surface Prep Covers and When You Need It
Surface preparation is the work between a damaged or uneven wall and a finish coat that looks right. That means scraping loose paint, filling dents and old anchor holes, re-taping cracked seams, skim coating rough areas, sanding everything flat and priming so the topcoat absorbs evenly. Skip any of it and every flaw shows through, usually once the light hits the wall at an angle.
Sanding is also where most of the safety risk in drywall work sits. Joint compound dust is fine enough to drift through a house and irritate lungs. In older homes, the paint being sanded may contain lead. Many houses around Mount Vernon were built well before 1978, so we treat old paint as suspect until a test says otherwise. Then we contain the room before the first pass.
What the Work Includes
Lead check on older paint
If your home predates 1978, we test the painted surfaces we plan to sand. If the result is positive, we explain your options before any dust is made. Nothing gets sanded until you know what is in the paint.
Room containment
We hang plastic sheeting over doorways and cover floors. We tape off HVAC supply and return vents so dust does not travel through the ductwork to other rooms.
Filling and skim coating
Nail pops get reset with a drywall screw and spotted. Gouges and holes get filled in layers so the compound does not shrink and crater. Rough or patchy walls get a thin skim coat of joint compound across the full surface.
Dust-extraction sanding
We sand with pole and hand sanders connected to HEPA-filtered vacuums, using fine-grit screens that will not scuff the paper face of the drywall. Small areas near furniture or finished trim are often wet sanded with a sponge instead.
Raking-light inspection
We hold a work light flat against the wall to throw shadows across ridges, tool marks and low spots. Anything that shows gets another thin coat and another sanding.
Priming and cleanup
Bare compound gets a coat of drywall primer so the finish coat absorbs evenly. Water stains get a stain-blocking primer. We HEPA-vacuum the room and wipe down surfaces before the plastic comes down.
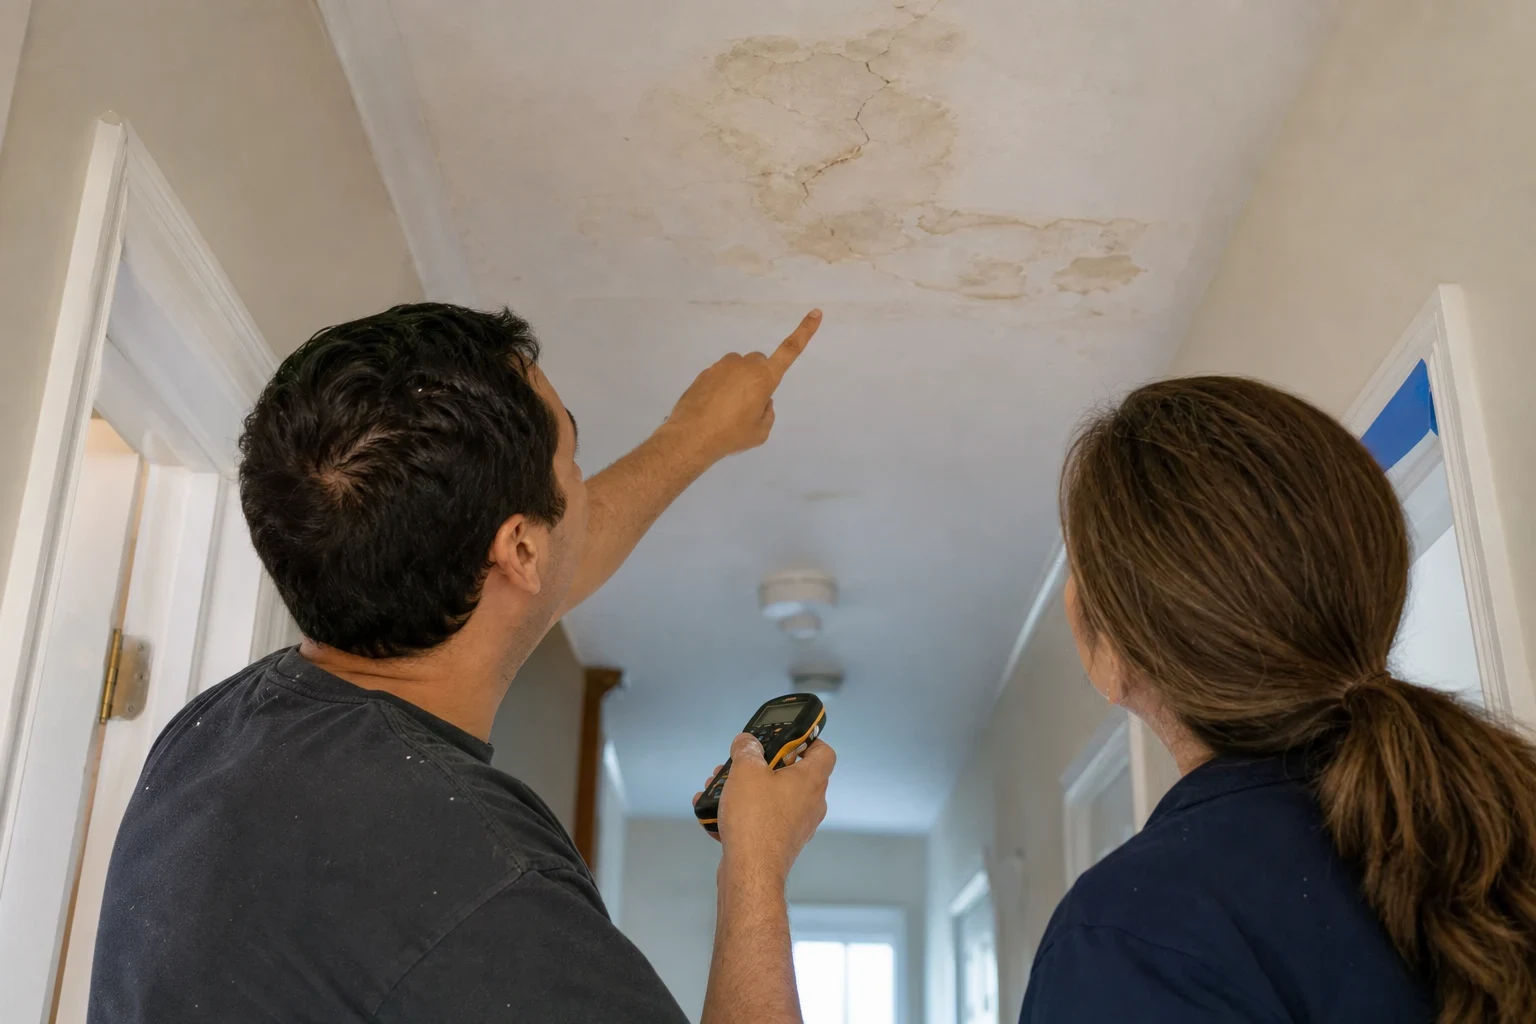
Signs Your Walls Need Proper Prep
- Flashing after paint
- Dull and shiny patches over old repairs mean the compound was never primed. It soaked up the paint differently from the wall around it.
- Visible seams and ridges
- Tape lines, crowned joints or a fuzzy paper texture show up in side light. These are sanding and feathering problems, and a new coat of paint will not hide them.
- Peeling or alligatored paint
- Layers of old paint that crack or lift will keep failing under anything new. They have to be scraped and sanded back to a sound surface first.
- Holes left from a move
- Anchor holes, TV mounts and picture nails add up. Each one needs filling, sanding and priming, or it shows through as a dimple.
- Glossy walls about to be recoated
- New coatings grip poorly on old semi-gloss or gloss paint. The surface needs a scuff sand and a bonding primer first, or the topcoat can peel.
How a Prep Day Runs
- 1
Walkthrough and testing
We look at every wall in the scope under a work light and mark the defects. If the paint is old, we test it for lead. You get a written scope of the work before we start.
- 2
Seal the room
Furniture is moved or covered and floors are protected. We put up plastic barriers at doorways and tape off vents. We ask that kids and pets stay out of the work area until cleanup is done.
- 3
Repair and fill
Loose paint comes off, cracks get re-taped, and holes and dents get filled. Deeper fills set before the next coat goes on, which can mean a return visit the next day.
- 4
Sand and inspect
We sand with vacuum-connected tools, then check the wall under raking light. We recoat and resand until the surface reads flat.
- 5
Prime and clean
Primer goes on the repaired areas or the full wall, depending on the scope. Then we vacuum, wipe down and take down the containment.
What Moves the Cost
Prep is priced by the surface condition, not just the square footage. A wall with a dozen nail holes is a different job from one that needs a full skim coat. We give you a written estimate that lists each step so you can see where the time goes.
- Surface condition
- Scattered holes take far less labor than cracked seams, peeling layers or a wall that needs skimming edge to edge.
- Lead results
- If testing finds lead in the paint, we use lead-safe work methods and extra containment. That adds time and materials.
- Height and access
- Stairwells, high ceilings and rooms full of furniture take longer to protect and to work in safely.
- Number of coats
- Deep fills and uneven walls need more coats. Drying time between them can stretch the job over more than one visit.
- Primer type
- Standard drywall primer costs less than stain-blocking or bonding primers. The right choice depends on what the wall is covered with.
Surface Prep and Sanding Questions
- How much dust will there be?
- Much less than with open sanding. Our sanders pull dust straight into HEPA-filtered vacuums, and the room is sealed with plastic and taped vents. Some fine dust settles inside the work area, and our cleanup handles that before we leave.
- Do you really need to test for lead?
- In a home built before 1978, yes, if we are sanding painted surfaces. Sanding lead paint turns it into dust that children and pets can breathe or swallow. The test is quick and tells us how to work safely.
- Can we stay home while you work?
- Usually, yes. The work is limited to the sealed room. We do ask that children, pregnant family members and pets stay out of that room until we finish cleanup.
- Why not just paint over the flaws?
- Paint shows flaws more clearly than it hides them, especially in eggshell or satin. Ridges, dents and unprimed patches stand out once a single color covers the wall. Fixing the surface first is what gets you a smooth result.
- Is prep the same as drywall finishing?
- They overlap. Drywall finishing is taping and coating new board after it is hung. Surface prep corrects walls that have already been finished and painted. If your walls are new, our Drywall Finishing page covers that work.
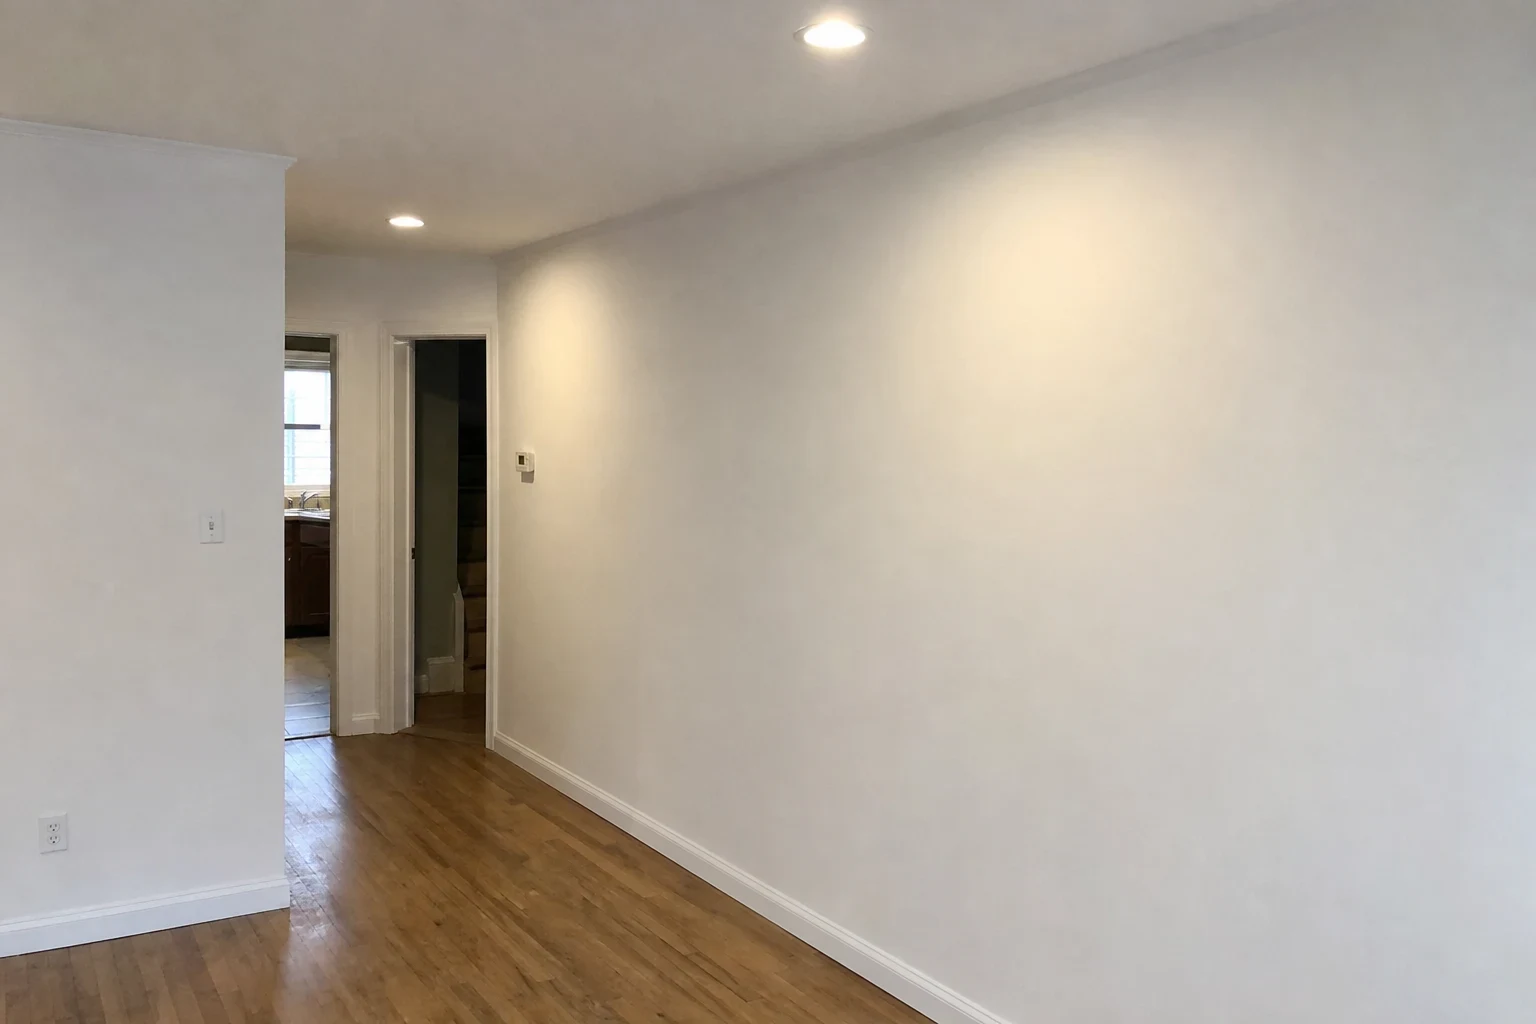
Get Your Walls Ready the Safe Way
Tell us which rooms need work, roughly when the house was built and what the walls look like now. We will explain how we would test, contain and prep them, from Mount Vernon to Pelham and New Rochelle.