ServicesDrywall Finishing
Drywall Finishing in Mount Vernon
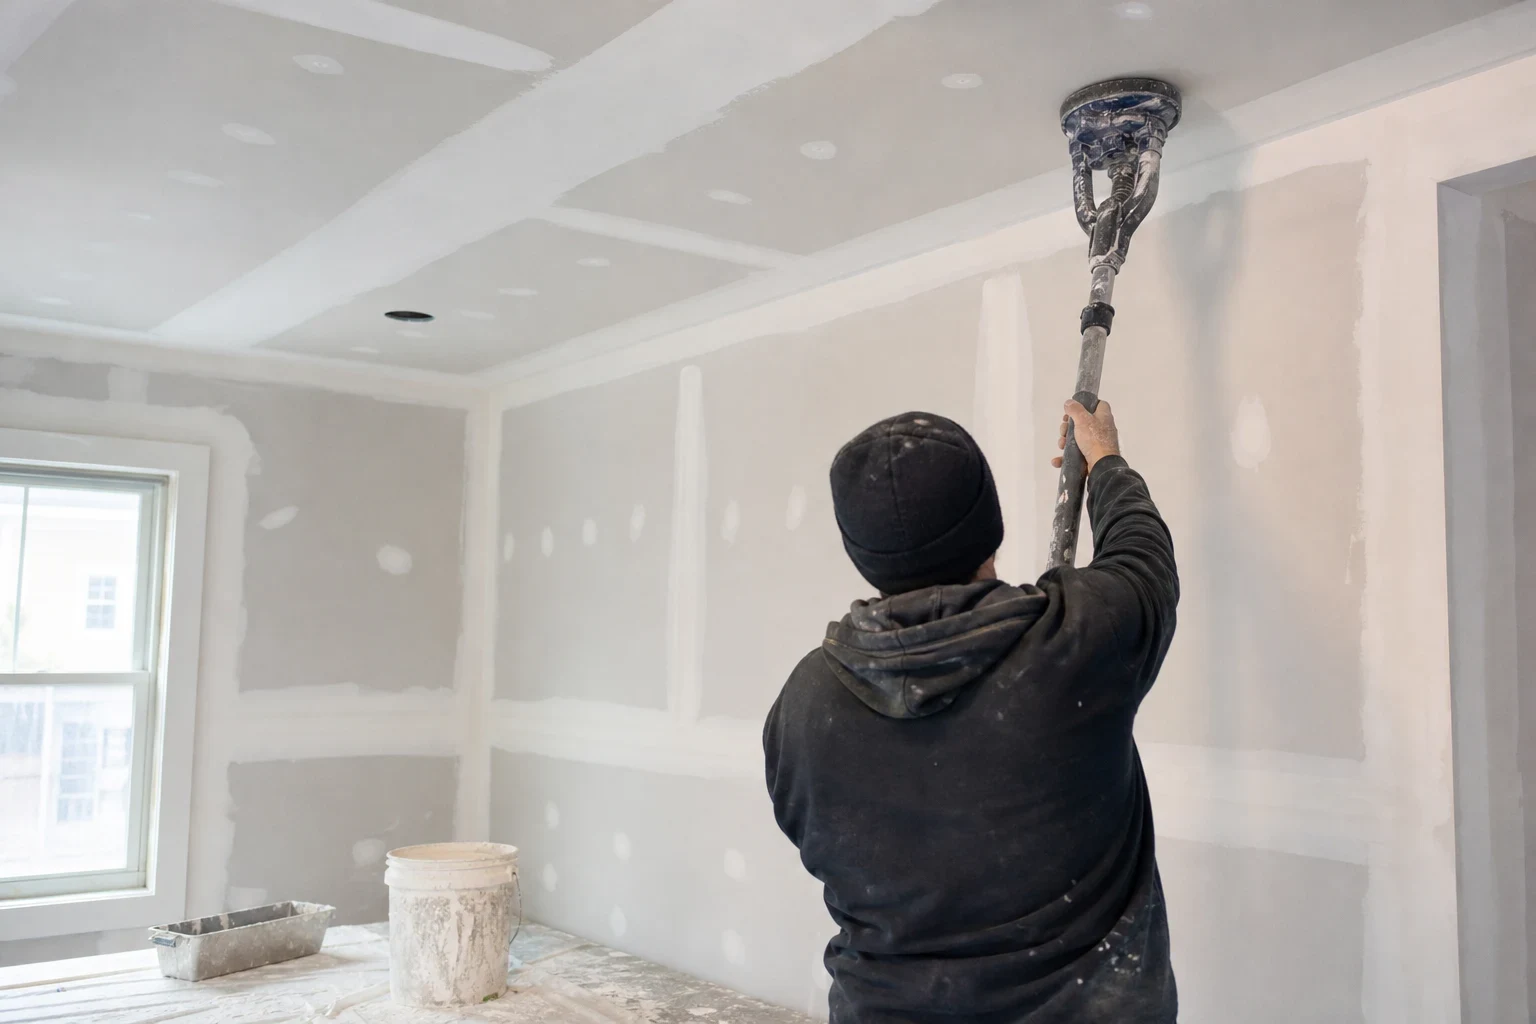
We tape, mud and sand new or repaired drywall until the joints, screws and corners disappear under paint. The work is set up around safety: plastic containment, HEPA vacuums, covered floors and a clear path for your family, so the dust stays in the work area.
What drywall finishing actually is
Hanging the board is half the job. Finishing is everything after: embedding tape in the seams, covering screw heads, setting corner bead, then building and feathering coats of joint compound until the wall reads as one flat plane. Done well, nobody can tell where one sheet ends and the next begins.
The industry describes this in levels. Level 4 means three coats over tape and fasteners, which suits most painted walls with a flat or eggshell sheen. Level 5 adds a thin skim coat over the entire surface, the right call for glossy paint, dark colors or walls lit from the side by a big window, where every ridge casts a shadow.
Finishing creates fine dust, and some joint compounds contain crystalline silica or talc. That is why we contain the room and control dust at the source instead of relying on cleanup afterward.
What the work includes
- Taping the seams
- We bed paper tape in all-purpose compound on flat joints and use a setting-type compound with mesh where strength matters. Paper tape resists cracking better on inside corners, so that is our default there.
- Corner bead and inside corners
- Outside corners get metal or paper-faced bead, set straight and filled in passes. Inside corners are folded tape, wiped tight so the line stays crisp.
- Fill and finish coats
- Each coat is wider than the last, feathered out with a broad knife so the hump over a tapered or butt joint flattens out. Butt joints, where two uncut ends meet, get the widest feathering because there is no taper to hide them.
- Skim coating for Level 5
- When the job calls for it, we roll or trowel a thin coat of lightweight compound across the whole wall and knife it back. This evens out the paper face and the mud so primer and paint absorb uniformly.
- Sanding with dust control
- We sand with a vacuum-connected sander or a damp sponge, depending on the surface. A raking light shows us low spots and scratches before the primer does.
Signs your walls need finishing work
Visible seams after painting
If you can see straight lines every four feet, the joints were under-filled or not feathered wide enough. A Level 5 skim usually cures it.
Screw pops and dimples
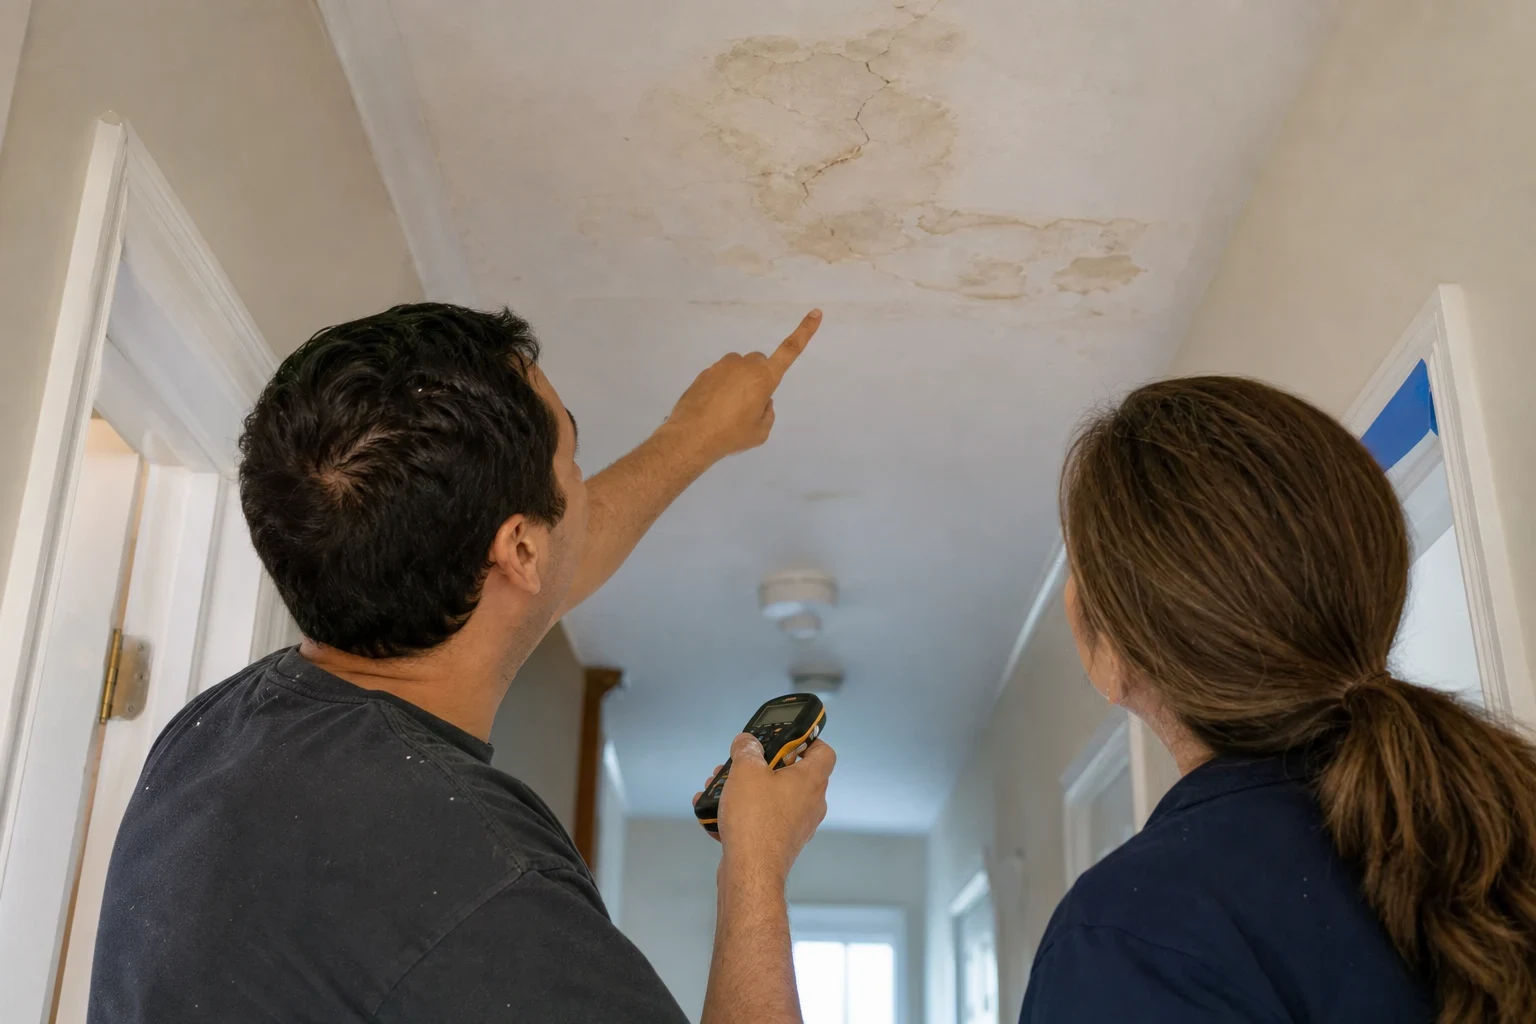
Round bumps or craters in rows mean fasteners were overdriven, underdriven or the framing moved. We reset or add screws, then re-spot them.
Cracked or bubbled tape
Tape that lifts or blisters was bedded without enough compound underneath. It has to be cut out and re-taped, not painted over.
Flashing under paint
Shiny and dull patches mean the paper and the mud absorbed paint differently. Better priming or a skim coat fixes the cause.
New board left unfinished
After drywall hanging or a large patch, bare board and raw seams need full taping and finishing before primer can go on.
What moves the cost of finishing
Finishing is priced by the work, not a flat rate. The biggest variables are how much surface there is, what level of finish you need and how many trips drying time requires. We explain each line before work starts so the number holds.
Finish level
Level 5 takes an extra full-surface coat and more sanding than Level 4. Choosing it only where the paint and light demand it keeps cost down.
Square footage and joint count
More seams, butt joints and outside corners mean more tape, bead and coats. Small rooms with many corners can take as long as a larger open wall.
Ceilings and height
Overhead work is slower and needs scaffolding or planks on tall ceilings and stairwells, set up safely before anyone climbs.
Condition of the existing work
Fixing someone else's finishing, with cracked tape or popped screws, means removal and re-taping before new coats go on.
How a finishing job runs
- 1
Look and plan by phone, then on site
We ask about the room, the board and the paint you plan to use, and whether the house was built before 1978, since older painted surfaces may contain lead and should not be sanded until tested. On site we check the framing, fasteners and lighting and recommend a finish level.
- 2
Set up a contained work area
We cover floors with rosin paper or drop cloths, hang plastic sheeting over doorways, mask vents and switch off the HVAC return in that room so dust does not circulate through your home. Ladders and tools stay inside the containment, away from kids and pets.
- 3
Tape and coat over several days
Compound needs to dry between coats. In winter, dry heated air speeds that up; in humid summer weather it can take overnight or longer, so we use setting-type compound where time matters and let the rest dry fully rather than rushing.
- 4
Sand, inspect and clean
We sand with HEPA extraction, check every joint under a work light and touch up any low spots. Then we vacuum surfaces, take down the plastic and leave the room ready for primer.
Drywall finishing questions
Level 4 or Level 5, which do I need?
For most walls with flat or eggshell paint, Level 4 is enough. Choose Level 5 for semi-gloss, dark colors or walls hit by strong side light from a window. We look at the room and tell you honestly which one it needs.
How long does finishing take?
Most rooms take three to four visits because each coat must dry before the next goes on. Setting-type compound can shorten that on tight schedules. Humidity and temperature in your home affect drying, and we plan around them.
How much dust will there be?
Some, but it stays contained. We seal doorways with plastic, sand with vacuum-connected tools and HEPA filtration, and use damp sponging where it works. You should not find a film of dust on the other side of the house.
Is the dust harmful?
Joint compound dust can irritate lungs and eyes, and some products contain crystalline silica. That is why we control it at the source and ask that kids, pets and anyone with asthma stay out of the work area until cleanup is done.
Can you match the finish to my existing walls?
Yes. We blend new joints into surrounding work and handle texture matching where the existing walls are not smooth. For small spots after the paint goes on, see our paint touch-ups page.
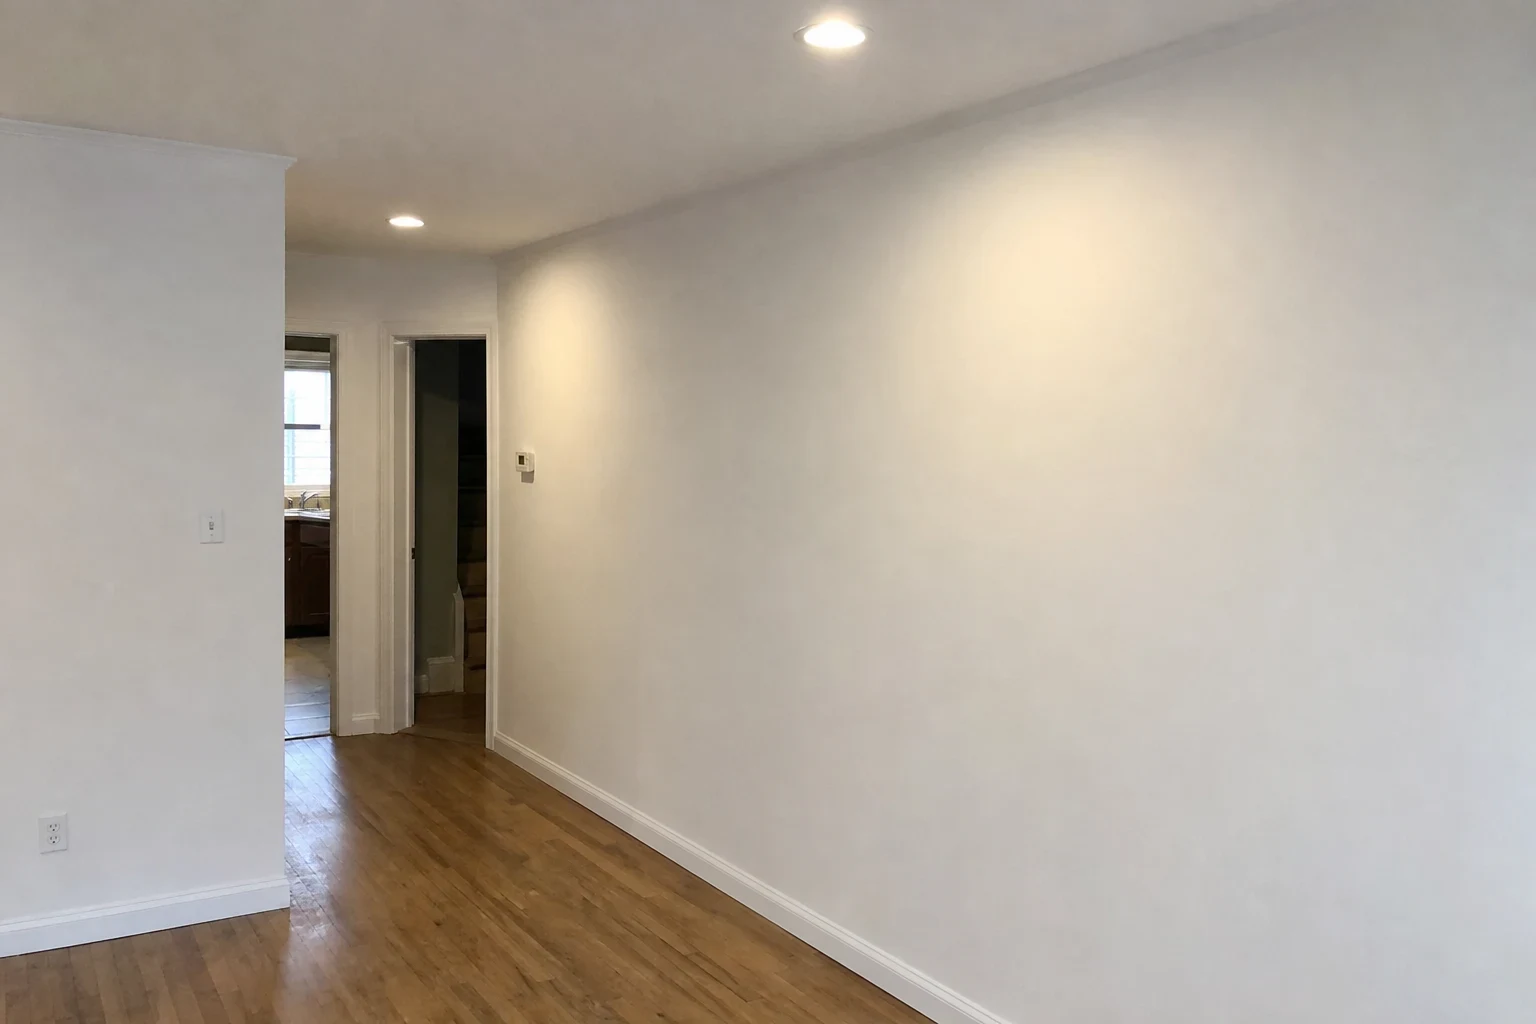
Ready for walls that look like one surface
Tell us about the room, the board and the paint you have in mind. We will explain the finish level it needs and how we will keep the work area safe and contained.