ServicesPaint-Ready Walls
Paint-Ready Walls and Touch-Ups in Mount Vernon, NY
We get your walls ready for paint and blend the areas we repair. That means patching, finishing, sanding under dust control, priming bare compound and matching your existing paint at the repair. We check older paint for lead before we sand it, so the prep does not put your household at risk.
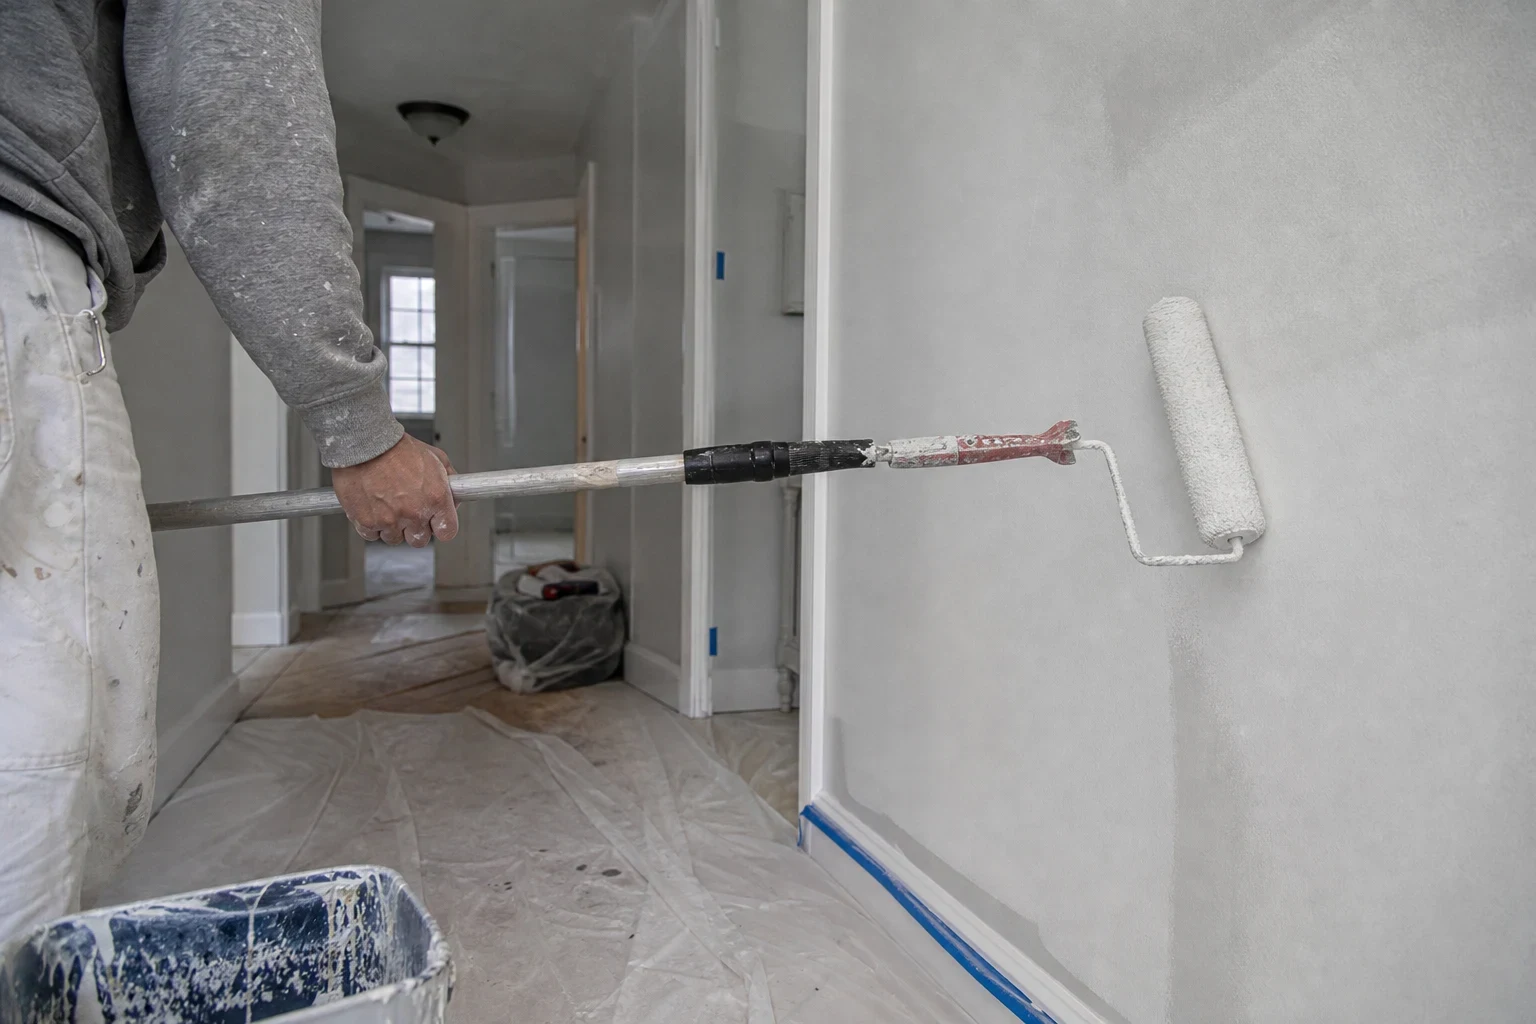
Good paint starts with the wall underneath
Paint fails at the surface below it. Fresh color over a nail pop, a hairline crack at a seam or an unprimed patch shows the flaw within weeks. Often the problem is flashing, a dull or shiny spot where joint compound soaked up paint differently from the wall around it. Our work covers everything before the final coat, plus paint touch-up where we made repairs.
We don't repaint whole rooms. We fix the drywall, finish it smooth, seal it with primer and blend the patched areas into your existing paint. If you plan to repaint the full room yourself or with a painter, you start with a wall that takes paint evenly.
Many houses around Mount Vernon, Pelham and New Rochelle were built long before 1978. We treat older paint layers as possibly containing lead until a test says otherwise. That decides how we sand, how we contain dust and how we clean up.
What the prep work includes
Lead check before sanding
On older paint we use a test kit at the spot we plan to disturb before any sanding starts. If it shows lead, we stop, explain what the result means and talk through safe options with you before work continues.
Repairs under the paint
Nail pops are reset with drywall screws. Cracked or loose tape at seams is cut out and re-taped, and dents and holes get a proper patch. These are the defects that show through a new coat.
Dust-controlled sanding
We sand compound with vacuum-attached sanders and fine-grit screens, seal the room with plastic sheeting and cover the vents. Joint compound dust is fine enough to drift through a whole house, so we capture it at the tool instead of sweeping it up later.
Primer on bare compound
Every patch and finished seam gets a coat of drywall primer. It seals the porous compound so paint dries to the same sheen as the rest of the wall.
Paint touch-up at repairs
We blend repaired spots into the surrounding wall with your leftover paint or a matched color, feathering the edges so the repair does not frame itself. Our Paint Touch-Ups page explains how we handle color and sheen.
Clean work area at the end
Floors stay under drop cloths and rosin paper during the job. Before we leave, we pull the containment carefully and HEPA-vacuum the surfaces we worked near.
Signs your walls need prep before more paint
- Shiny or dull spots after painting
- That is flashing over unprimed compound. Another coat rarely fixes it. The patch needs primer first.
- Seams and screw heads showing through
- Ridges along tape joints and little round bumps at screws mean the finish coats were thin or the fasteners have backed out. Paint makes them easier to see, not harder.
- Cracks that come back after every repaint
- This usually means tape that has lost its bond or a joint that moves. Caulk and paint won't hold. The tape has to be cut out and re-set.
- Peeling or bubbling paint
- Paint lifting in sheets often went on over dust, a glossy surface or damp drywall. We find the cause, scrape back to a sound edge and prep the area properly.
- Older paint you plan to sand
- If your home was built before 1978, sanding untested paint can spread lead dust. Have it tested before anyone sands it.
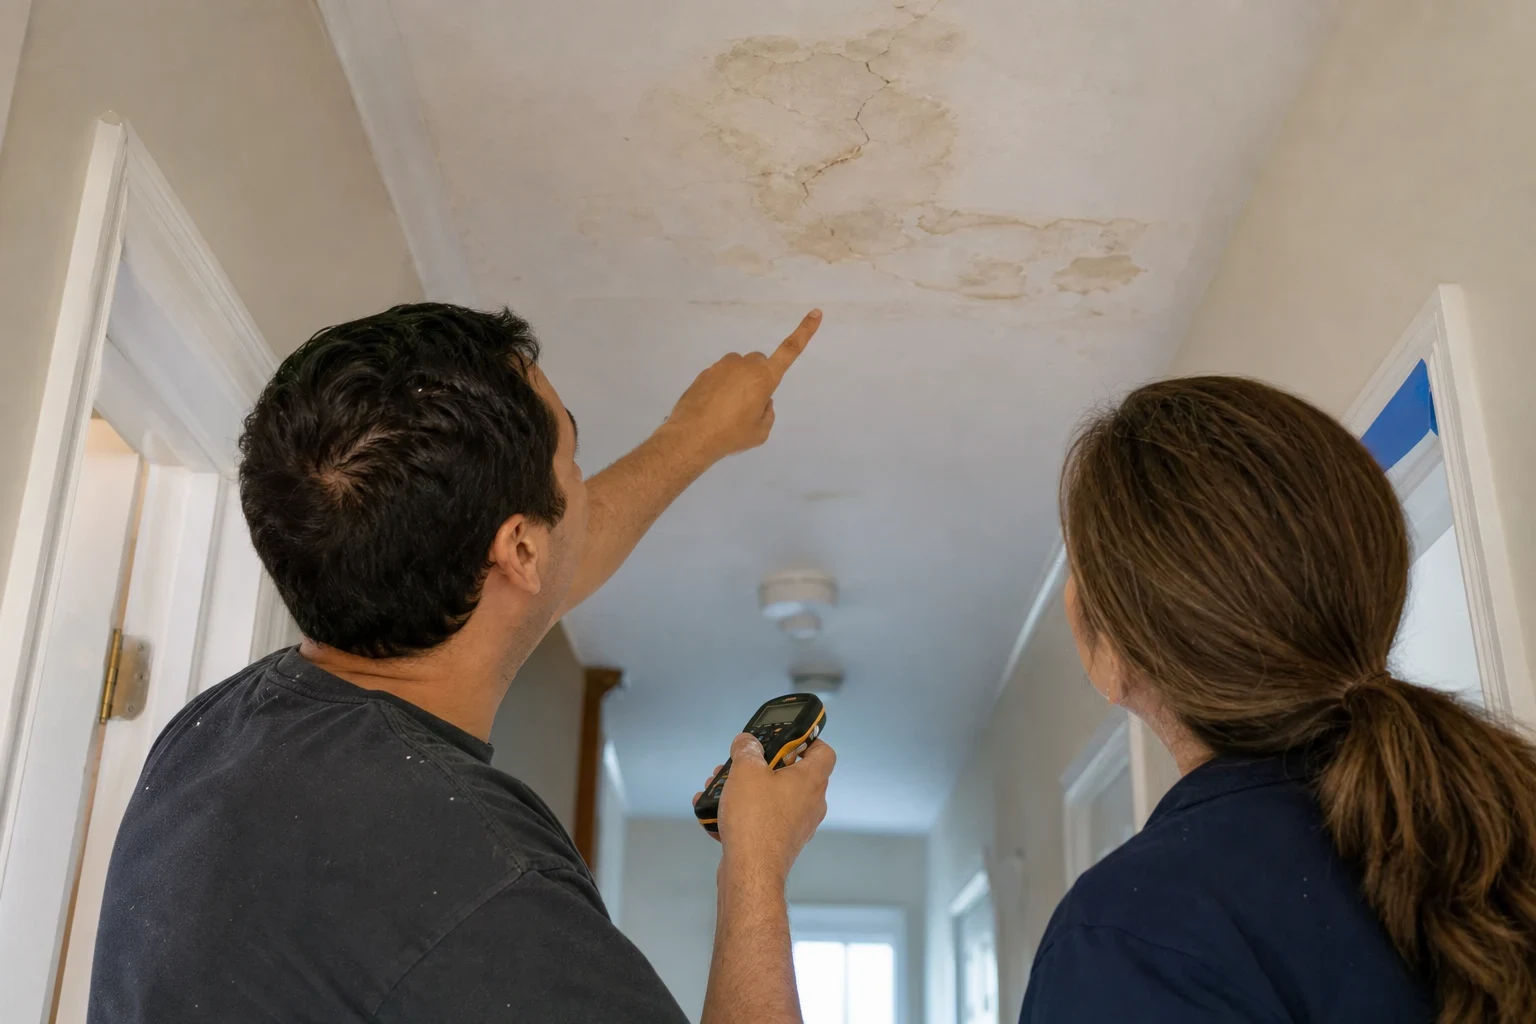
- Ceiling stains bleeding through
- A water stain that reappears through fresh paint needs a stain-blocking primer, and the leak behind it should be fixed first. Sagging or soft panels belong under Ceiling Repair.
How a prep job runs
- 1
Phone talk and walkthrough
Tell us by phone what you are seeing. We look at the walls in person, test older paint where we will work and explain which defects need repair before paint.
- 2
Containment and protection
We move or cover furniture, lay floor protection, tape plastic over doorways and cover vents. Kids and pets should stay out of the sealed area while we work.
- 3
Repair, finish and sand
We fix fasteners and tape, then apply compound in thin coats so each one dries fully. Sanding is done with vacuum-attached tools, and we check the surface with a raking light to catch ridges.
- 4
Prime, touch up and clean
Bare compound gets primer, then we blend paint at the repairs. We take the containment down, vacuum and walk the room with you before we leave.
What moves the cost of paint prep
We price prep by the work the walls actually need, not by the size of the room. You get your quote by phone after we understand the job, then confirm it once we have seen the walls. If a lead test changes the safe way to do the work, we explain that before going further.
- How much repair is underneath
- A few nail pops take far less time than re-taping cracked seams across a wall. Each repair also needs its own drying time between coats.
- Age of the paint
- Older paint that tests positive for lead calls for stricter containment, different sanding methods and more cleanup time.
- Access and room setup
- High ceilings, stairwells and rooms full of furniture take longer to protect and reach safely.
- Color and sheen matching
- Blending with your leftover paint is simplest. Matching a faded or unknown color, or a high-gloss sheen that shows every edge, takes more work.
Questions about paint prep
- Do you paint entire rooms?
- No. We handle the drywall repair, finishing, sanding and priming, then blend paint at the areas we repaired. That leaves the walls ready for a full repaint by you or your painter.
- Is the sanding dust safe for my kids and pets?
- Joint compound dust irritates lungs and eyes, so we keep it out of the air as much as we can. We sand with vacuum-attached tools, seal the work area with plastic and cover vents. We still ask that children and pets stay out of the room until cleanup is done.
- How do you know if my paint contains lead?
- If the house was built before 1978, we test the paint where we plan to sand before starting. A positive result means we stop and go over safe options with you before any work continues.
- Can you match the paint already on my walls?
- Usually, yes. Your leftover can is the best match. Without it, we match the color and sheen as closely as we can and feather the edges so the repair blends in. Faded walls can make an exact match harder, and we will tell you that up front.
- How soon can the wall be painted after you finish?
- Once our primer is dry, the wall is ready for paint, often the same day the prep is finished. Compound coats need to dry fully before sanding and priming, so larger repairs spread over more than one visit.
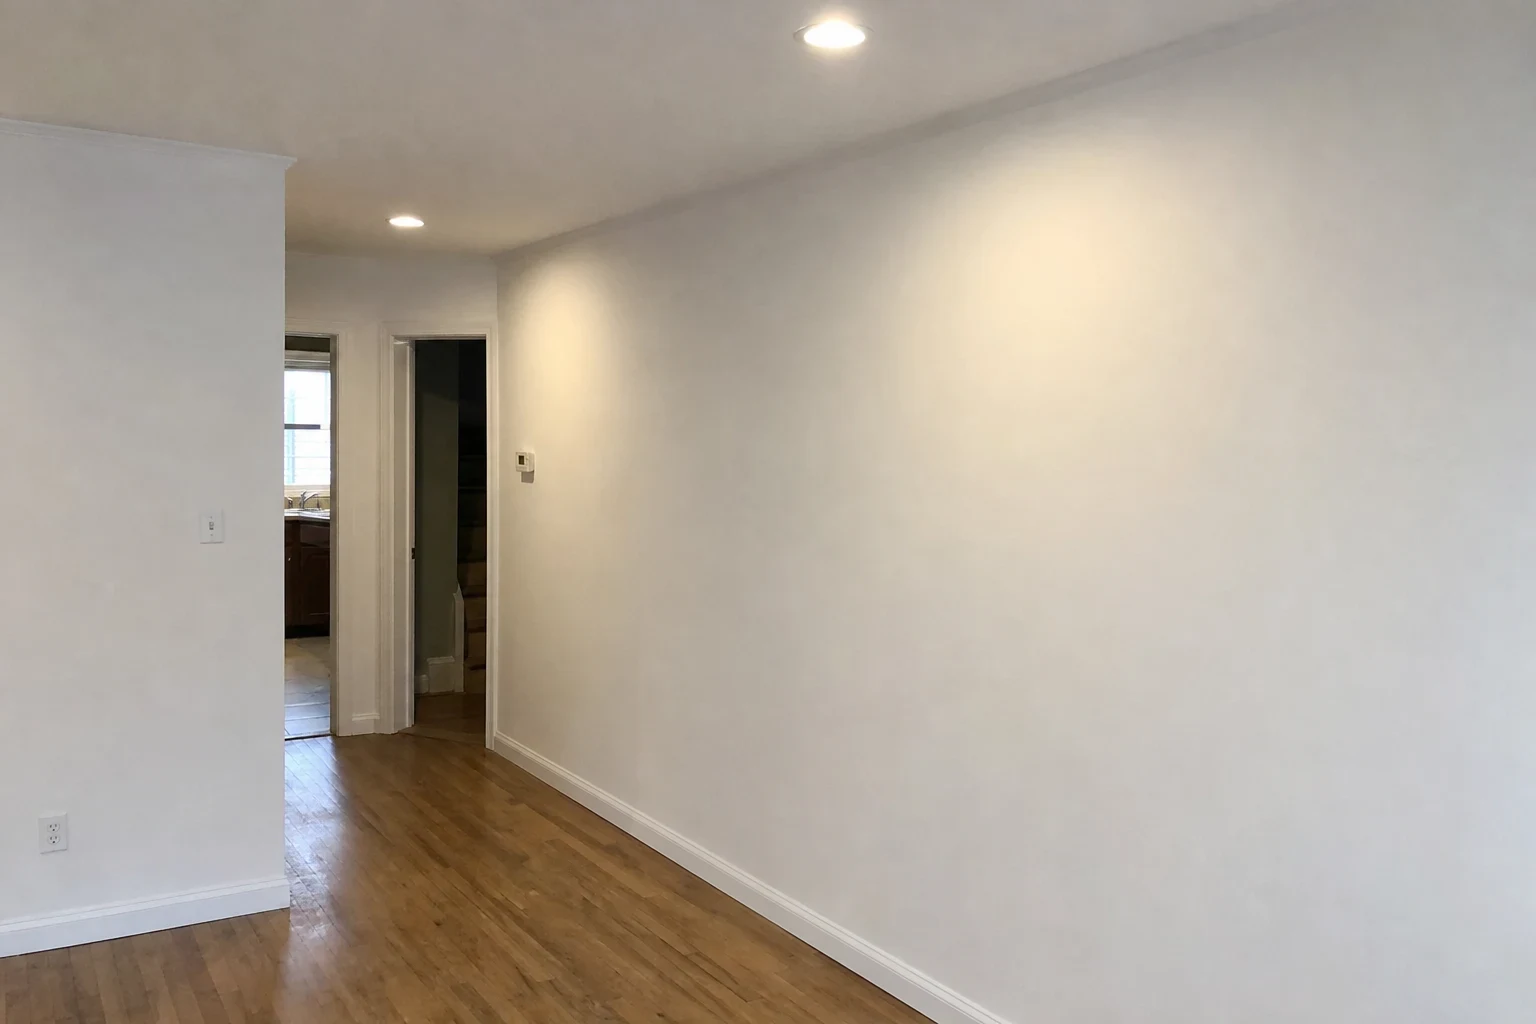
Get your walls ready the safe way
Tell us what is showing through your paint and how old the house is. We will explain what the walls need and how we will keep dust and old paint under control.